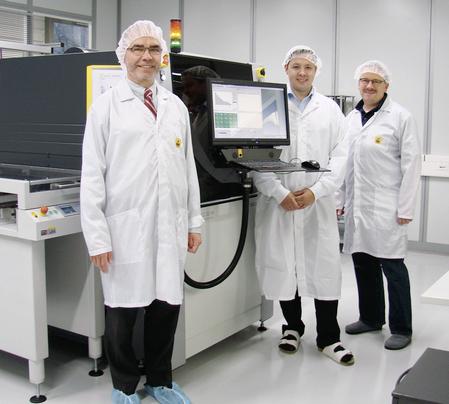
HARTING AG is increasingly using 3-D molded interconnect device (MID) technology for its customers in the automotive and medical technology sectors who demand very high quality. Until recently, HARTING has paid special attention to complex visual inspection during quality assurance. Now, Viscom’s S6056 MID inspection system is in use, enabling automatic inspection at maximum quality.
“Certain defects, such as solder tombstones, cannot be avoided entirely, even in the best and most stable production process,” explains Albert Birkicht, Managing Director at HARTING AG in Biel. “A small percentage of defects always occur. The inspection must detect these defects reliably, especially for customers in the automotive and medical technology industries.”
When searching for a suitable inspection solution, it quickly became apparent that more than a typical inspection of a printed circuit board assembly was needed. The visual inspection of a three-dimensional circuit carrier is influenced primarily by the complex shape and contour of the product. Therefore, the inspection system must be able to inspect at various levels.
Furthermore, very different manufacturing processes are used during 3-D-MID production, e.g. assembling with solder paste, conductive adhesive or bonding. Additionally, the conducting paths typically are not uniform but can look completely different based on the manufacturing process. Depending on the type of faults expected and the necessary throughput, it must be possible to specifically adapt the resolution, inspection speed, lighting, color settings and camera angle.
The Viscom S6056 series, which is fully established and flexibly adaptable to varying requirements, forms the technical basis for 3-D AOI. The inspection system provides a z-axis, high inspection depth and speed, as well as verification and traceability solutions.
3-D inspection at HARTING takes place in two stages. First, the metallization of the lasered and galvanized copper, nickel or gold conducting paths and the terminal pad are inspected. Typical faults include foreign metallization, incomplete, detached, short-circuited or torn conducting paths, as well as geometric defects of the product or detectable faults and color variations on the two-component injection molding. After assembly and vapor phase soldering, the S6056 MID system inspects the MID assemblies and verifies that the right components are present, positioned and poled correctly on all the assemblies of the panel. Additionally, it detects inadequate solder joints, tombstone effects, short circuits and faults on the solder resist.
“We are very impressed by the results of the Viscom 3-D inspection system,” says Birkicht. “The quality of the inspection and evaluations is high and the throughput has increased considerably. The automatic inspection is unerring: No defect is missed and processes can be controlled accurately, increasing the quality of the entire production process.”
HARTING currently uses the 3-D system for the inspection of a distance control system in high-volume production. “We will gradually inspect other 3-D-MID products with the Viscom system, especially the high-volume products that have particularly high-quality requirements,” Birkicht explains. “The capacity is expected to quickly reach its limits, which is why we are already thinking about a second S6056 MID system.”


